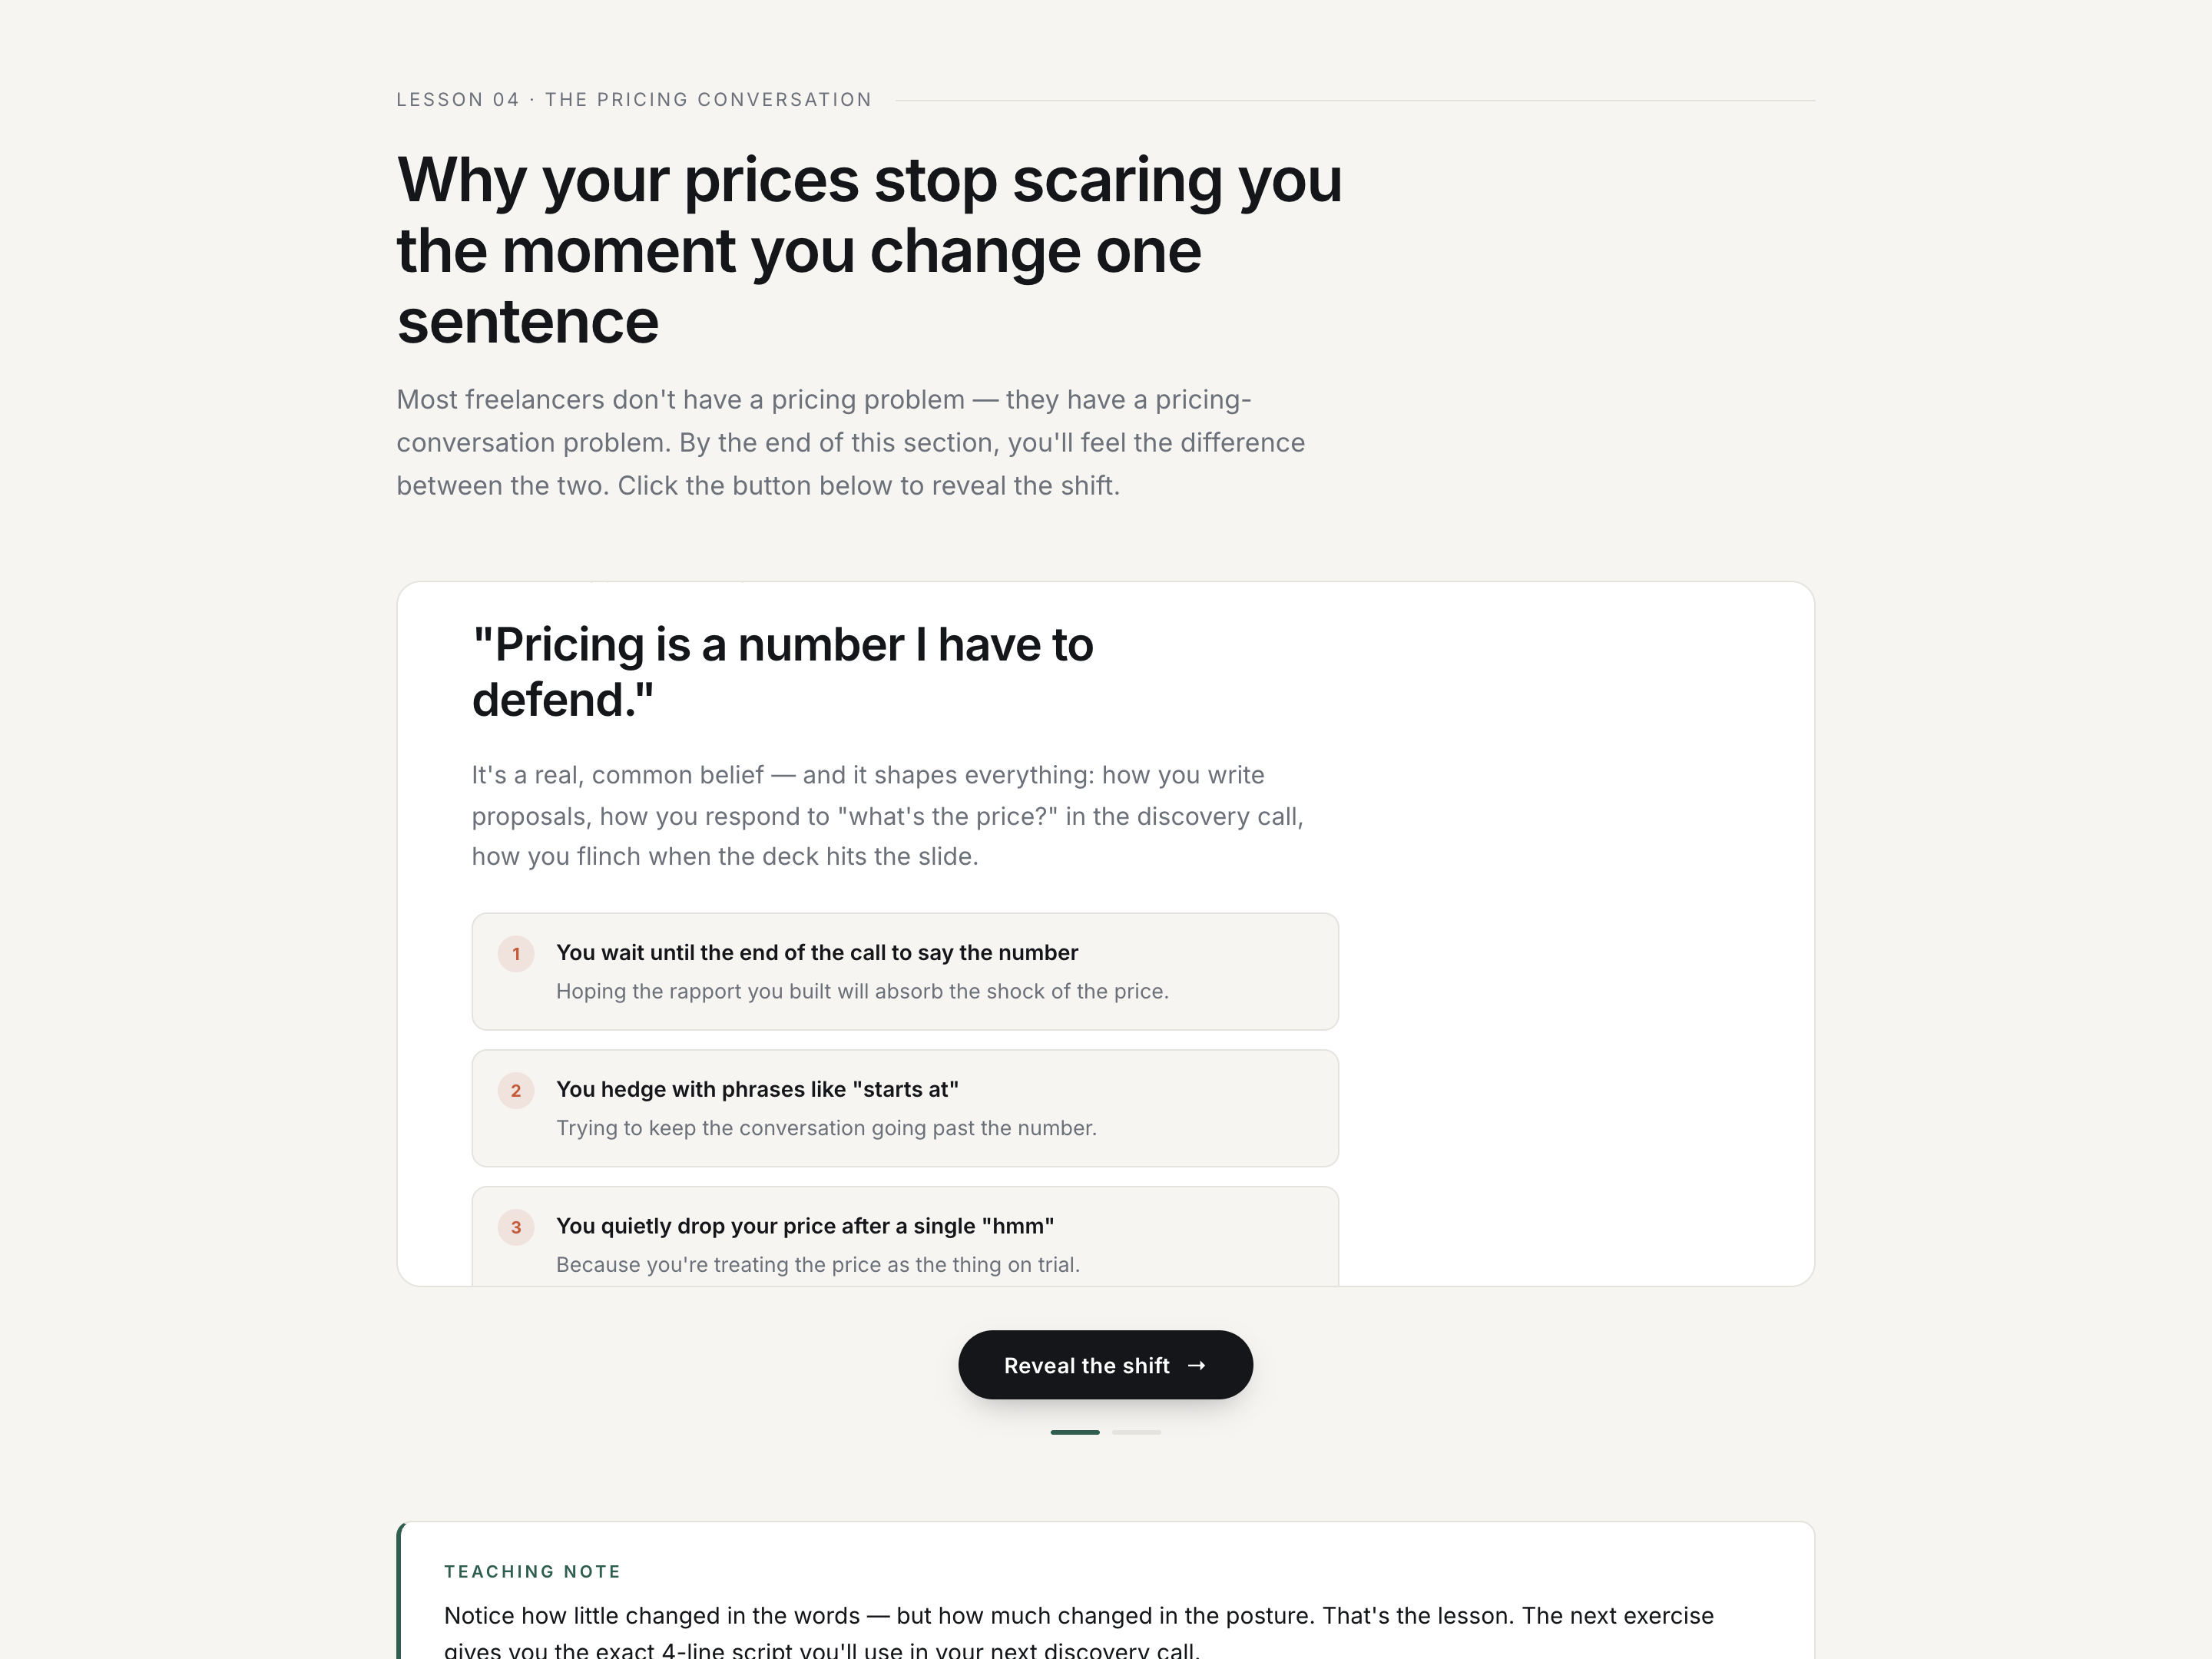
Pixelated Section Block — Tech Before/After Variant
A tech-coded between-panel block where a grid of square pixels sweeps across the stage with a random stagger, swaps the underlying panels while opaque, then fades back out to reveal the after state — pilots a code refactor but the pattern fits any old-version / new-version technical reveal.
Best for: Tech-niche before/after reveals — code refactors, workflow upgrades, prompt rewrites, design-system migrations, or any technical 'old version → new version' moment that benefits from a developer-grade visual.
Live preview — scroll inside the frame to see the full page.
What it does
- Auto-built responsive pixel grid — the overlay grid rebuilds itself for desktop, tablet, and mobile so the pixels always feel right at any width
- Random-stagger cover phase — pixels fade in across the stage in a random order rather than a uniform sweep, giving the moment a glitchy, deliberate texture
- Silent panel swap — while the grid is fully opaque, the underlying content quietly switches from before to after
- Slower random reveal phase — pixels fade back out with a gentler stagger so the new content feels like it's settling into place
- Two trigger modes — the block can fire on scroll (once per page) or on click of a monospaced 'run refactor()' style button
- Revert toggle and resize handling — a 'revert to before' link plays the transition in reverse, and the pixel grid rebuilds itself if the window resizes
Best use cases
- Code refactor and engineering courses — show before/after diffs as a real moment, not a screenshot
- Devtools, no-code, and API courses — compare old and new workflows side by side
- Design-system courses — show un-tokened CSS becoming tokenized
- AI and prompt-engineering courses — naive prompt becomes engineered prompt
- Cybersecurity and DevOps lessons — vulnerable config becomes hardened config
What you can change with your DNA
When you run this through the remix skill, your CCOS DNA — brand, voice, audience — drives these decisions automatically:
- Colors — tech-dark palette with slots for near-black background, two surface tones, a three-step text scale, an electric accent (drives the pixel color too), and a warm 'before' marker color. Swap the accent to cyan, violet, or amber to retune.
- Fonts — two roles: a clean sans for body content and a monospaced face for chrome, code blocks, and button labels. Mono swaps in cleanly to match your developer brand.
- Copy — lesson meta + title + lede; before panel (eyebrow, headline, note, code block, three footer pills); after panel (same scaffold); button labels; teaching note; scroll-trigger marker copy
- Images — code blocks by default, but the panels can hold screenshots, mockups, or diagrams to repurpose this for non-code before/after lessons
- Behavior — three timing controls (cover stagger, reveal stagger, swap moment), plus pixel density (how many columns the grid uses) and the scroll-trigger threshold
How remixing works
From "swiped it" to "shipped it" in three steps.
Pick a remix
Browse the library, find one that fits — like this one.
Run it through your DNA
The remix skill uses your CCOS DNA to swap colors, fonts, copy, and structure so it lands as yours.
Ship it
Paste the finished HTML into Thinkific, Kajabi, WordPress, or any platform that takes embed code.
Create a new list
Save your favorites
Email me a magic link and I'll add this to your favorites list.